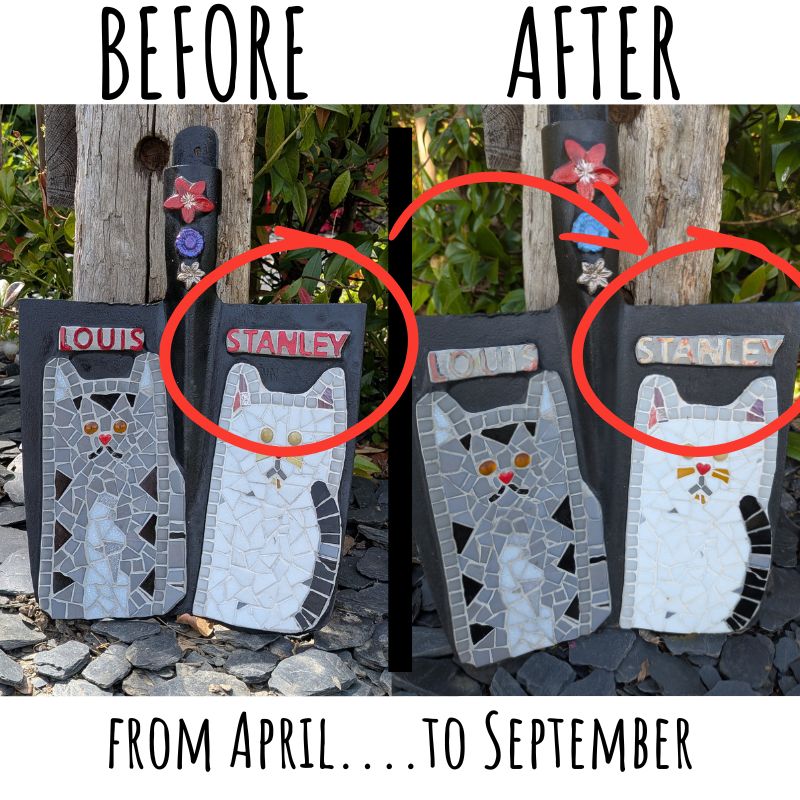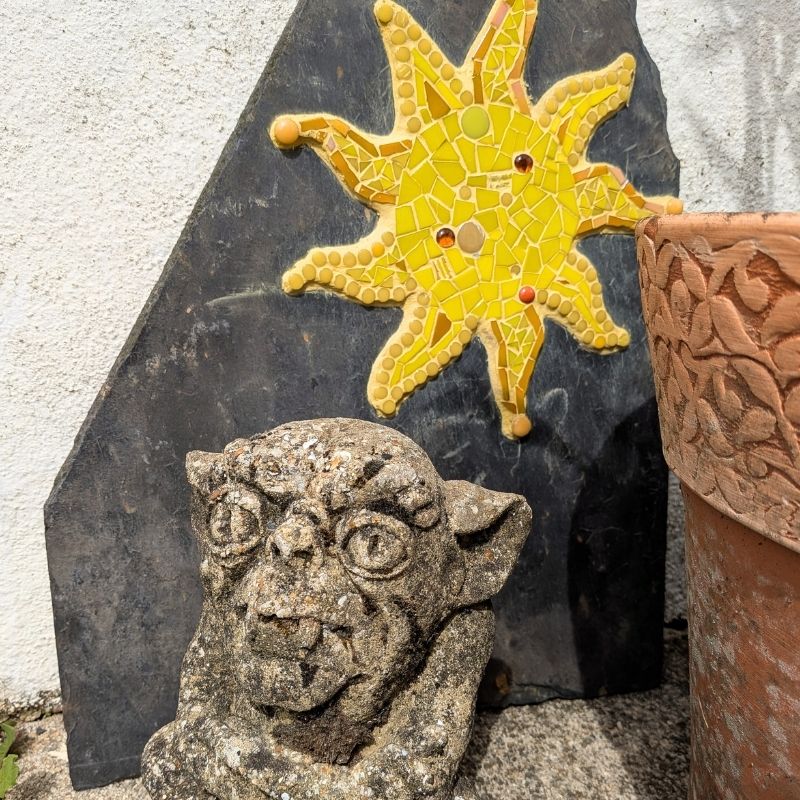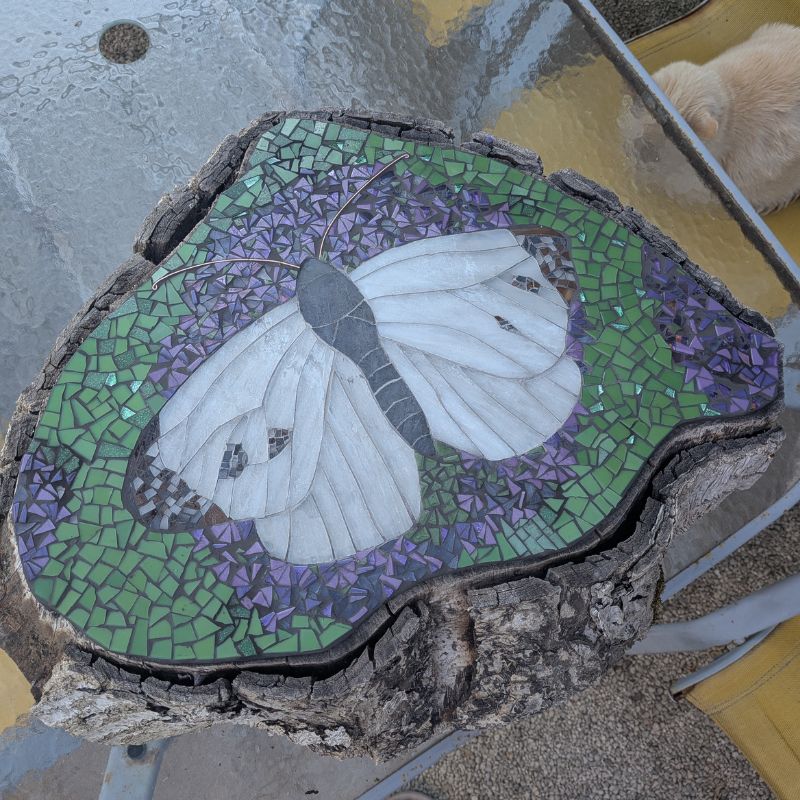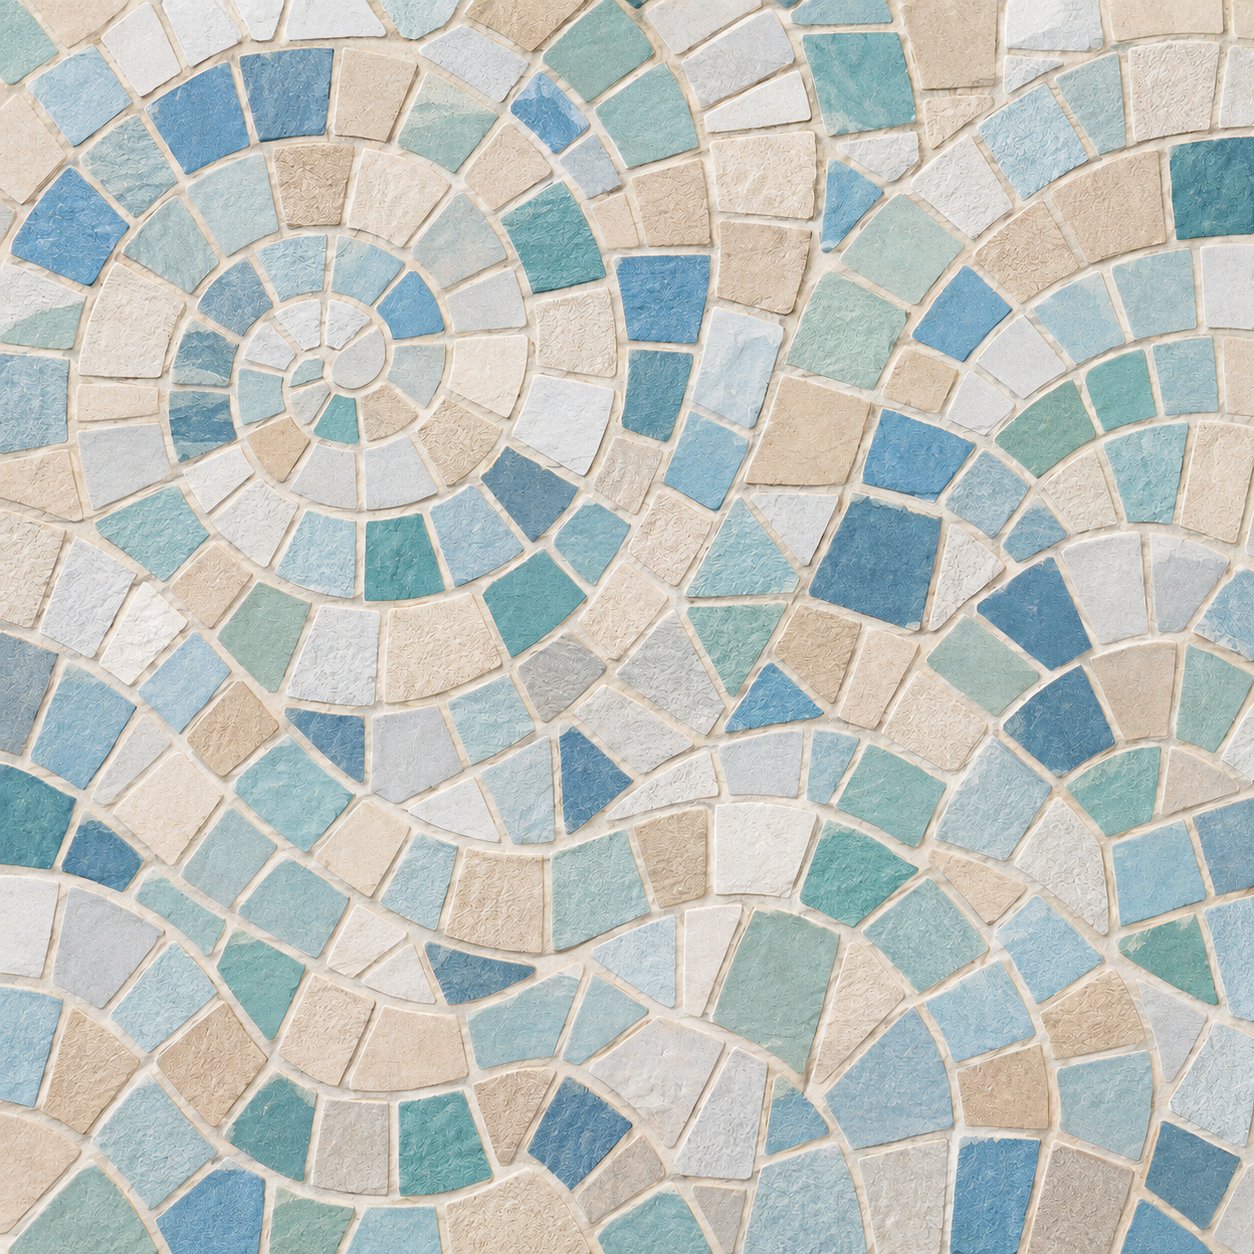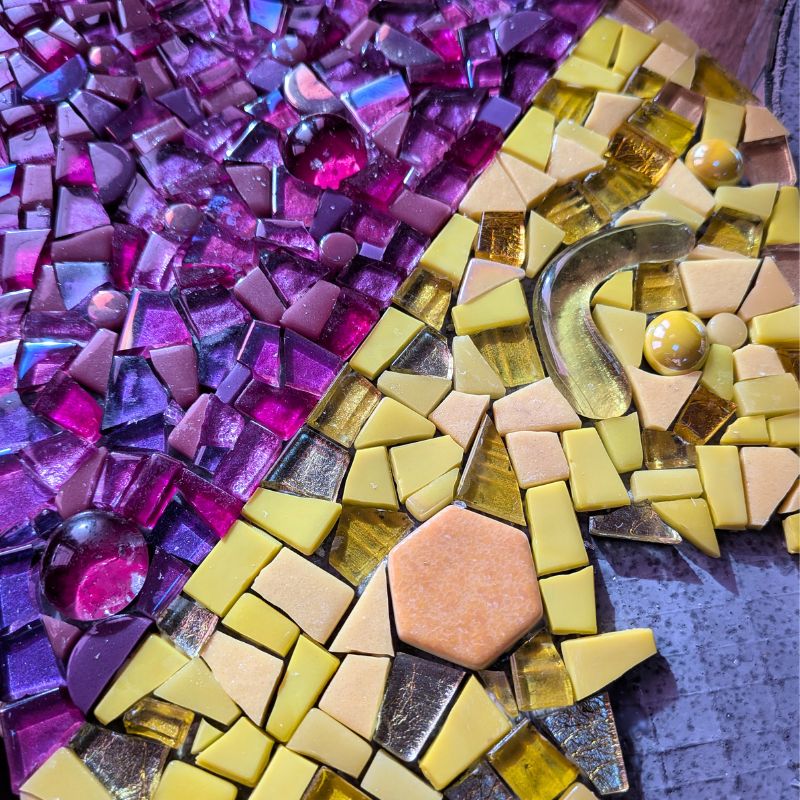
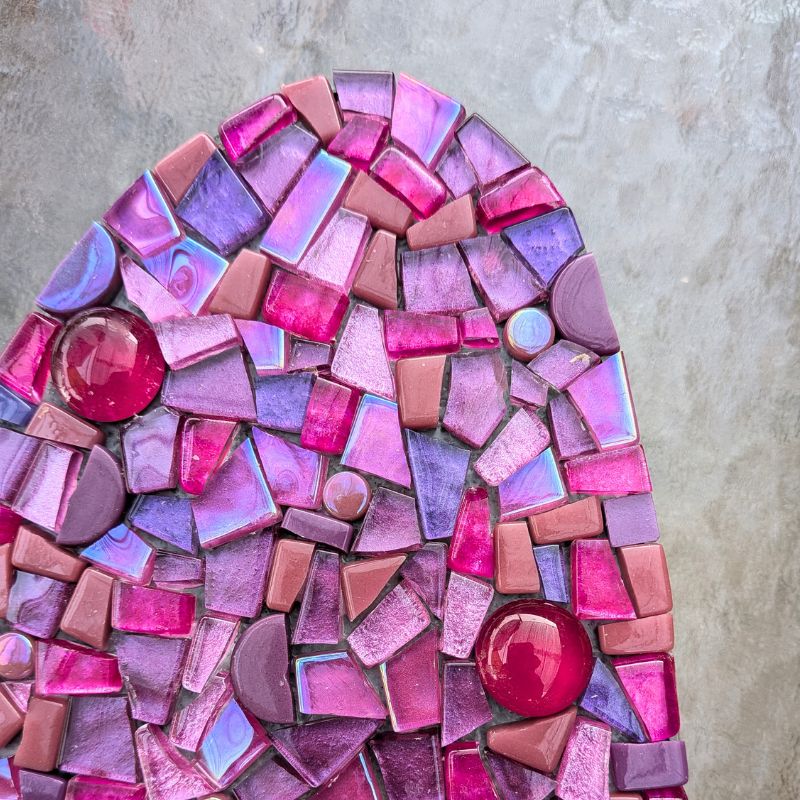
Sometimes it’s the smallest details that make a mosaic look beautifully finished.
One of those details is which edge of a tile you choose to put against an important line in your design.
If you’re working with glass mosaic tiles and want to create a crisp, clean edge, my tip is simple:
Use the fabricated edge of the tile whenever you can.
What is a fabricated edge?
By “fabricated edge”, I mean the original edge created when the tile was manufactured — rather than an edge you’ve created yourself by cutting the tile.
Look closely at a glass tile and you’ll usually see the difference.
The manufactured edges are smooth, consistent and regular. Once we cut that tile with mosaic nippers, however carefully we do it, the new edge isn’t quite the same.
It might be very good — but it won’t have the same perfectly finished quality as the original edge.
Why does this matter in a mosaic?
Imagine you want to create a strong line between two colours.
You cut a tile to fit the space and now have a choice: which side of that piece should sit against your important line?
Where possible, put the original fabricated edge against the line and position your cut edge away from it.
You’re still using exactly the same piece of glass, but simply turning it around can give you a much cleaner result.
This is particularly useful when you’re creating:
- borders
- outlines
- geometric designs
- divisions between colours
- lettering
- defined shapes
- strong directional lines
And despite the name, your “line” doesn’t necessarily have to be straight.
It works with curves too
The same principle can help when you’re working around a curved shape.
Individual tiles may still have straight fabricated edges, but by carefully choosing and positioning your pieces, those neat edges can work together to define a beautiful curve or other shape.
The important thing is to identify which part of your design needs the cleanest visual edge.
That’s where you want your best tile edges to be.
Think before you cut
This is where a little planning makes a big difference.
When beginners look at a gap, they often think:
“What shape do I need to cut to fit that space?”
I’d encourage you to add a second question:
“Which edge of this tile do I want to keep?”
Before making your cut, look at the tile and decide which of its original edges would be most useful in your design.
Then make your cut accordingly.
You’re no longer simply cutting a piece that fits. You’re deciding deliberately where the cleanest edge of that piece is going to appear in the finished mosaic.
What about the cut edge?
Of course, cut edges are an essential part of mosaic making. We couldn’t create all those wonderful shapes without them!
And with practice, you can make very accurate cuts.
But a hand-cut glass edge will never be quite as regular as an edge that was fabricated that way in the first place.
So don’t fight that fact — use it to your advantage.
Put the beautiful, consistent manufactured edge where the eye will notice it, and position the cut edge where its tiny imperfections are less important or can disappear into the surrounding mosaic.
A small technique that makes a big difference
This is one of those mosaic habits that can seem insignificant until you start using it.
Once you become aware of your fabricated edges, you’ll find yourself automatically looking for them before you make a cut.
And those little decisions add up.
Cleaner lines.
More defined shapes.
Neater borders.
A more polished-looking finished mosaic.
So next time you’re about to cut a glass tile, take an extra second before reaching for the nippers.
Look at the edges first — and decide which one you want to keep.
P.S. If you’d like a simple project to help you build your confidence making outdoor mosaics, my Mosaic A Garden Bird course is available now and is suitable for beginners.